✨ Custom CSS
To further customize your dashboard, you can add your own CSS rules to Homarr. This can be used to change virtually any aspect of the dashboard, from the color of the background to the size of the font.
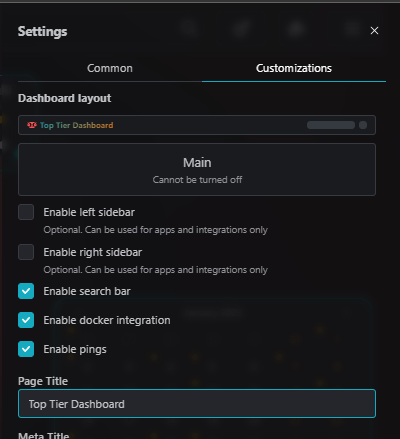
Adding custom CSS rules
To add custom CSS rules, go to the Customizations tab in the settings menu. There you can find a text field where you can enter your CSS rules.

After entering your rules, click on the "Submit" button to save your changes. You can now directly see the result of your customizations on the dashboard.
Example
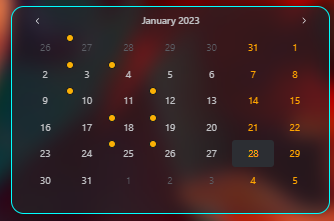
Example: Background image blur
body {
  backdrop-filter: blur(60px);
  -webkit-backdrop-filter: blur(60px);
}
Adding the above to your custom CSS will give you blur support for both desktop and mobile. You can change how much blur is wanted by changing the (60px) to a choice that better suits your needs.
We can also add blur support for the settings modal. Here is an example of how we can achieve this.
.mantine-w4dwz9 {
  backdrop-filter: blur(5px);
  -webkit-backdrop-filter: blur(5px);
  background-color: transparent;
}
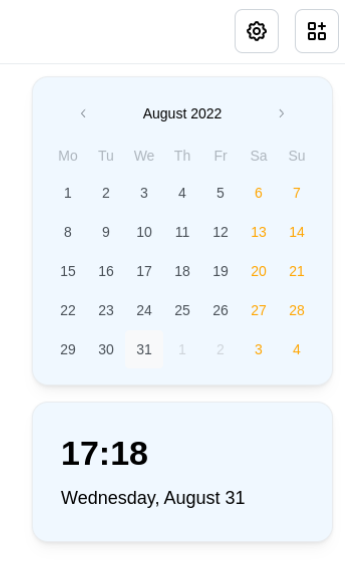
Example: border colors
Here is another example for adding borders too your apps and widgets.
.mantine-y31s44 {
  border-color: cyan;
  border-style: groove;
}
Homarr currently has dynamic class names "mantines", this means that each homarr update may or may not break your custom CSS due to mantines changing. It is planned too make these class names statically named in a future update.
Finding the class names of elements
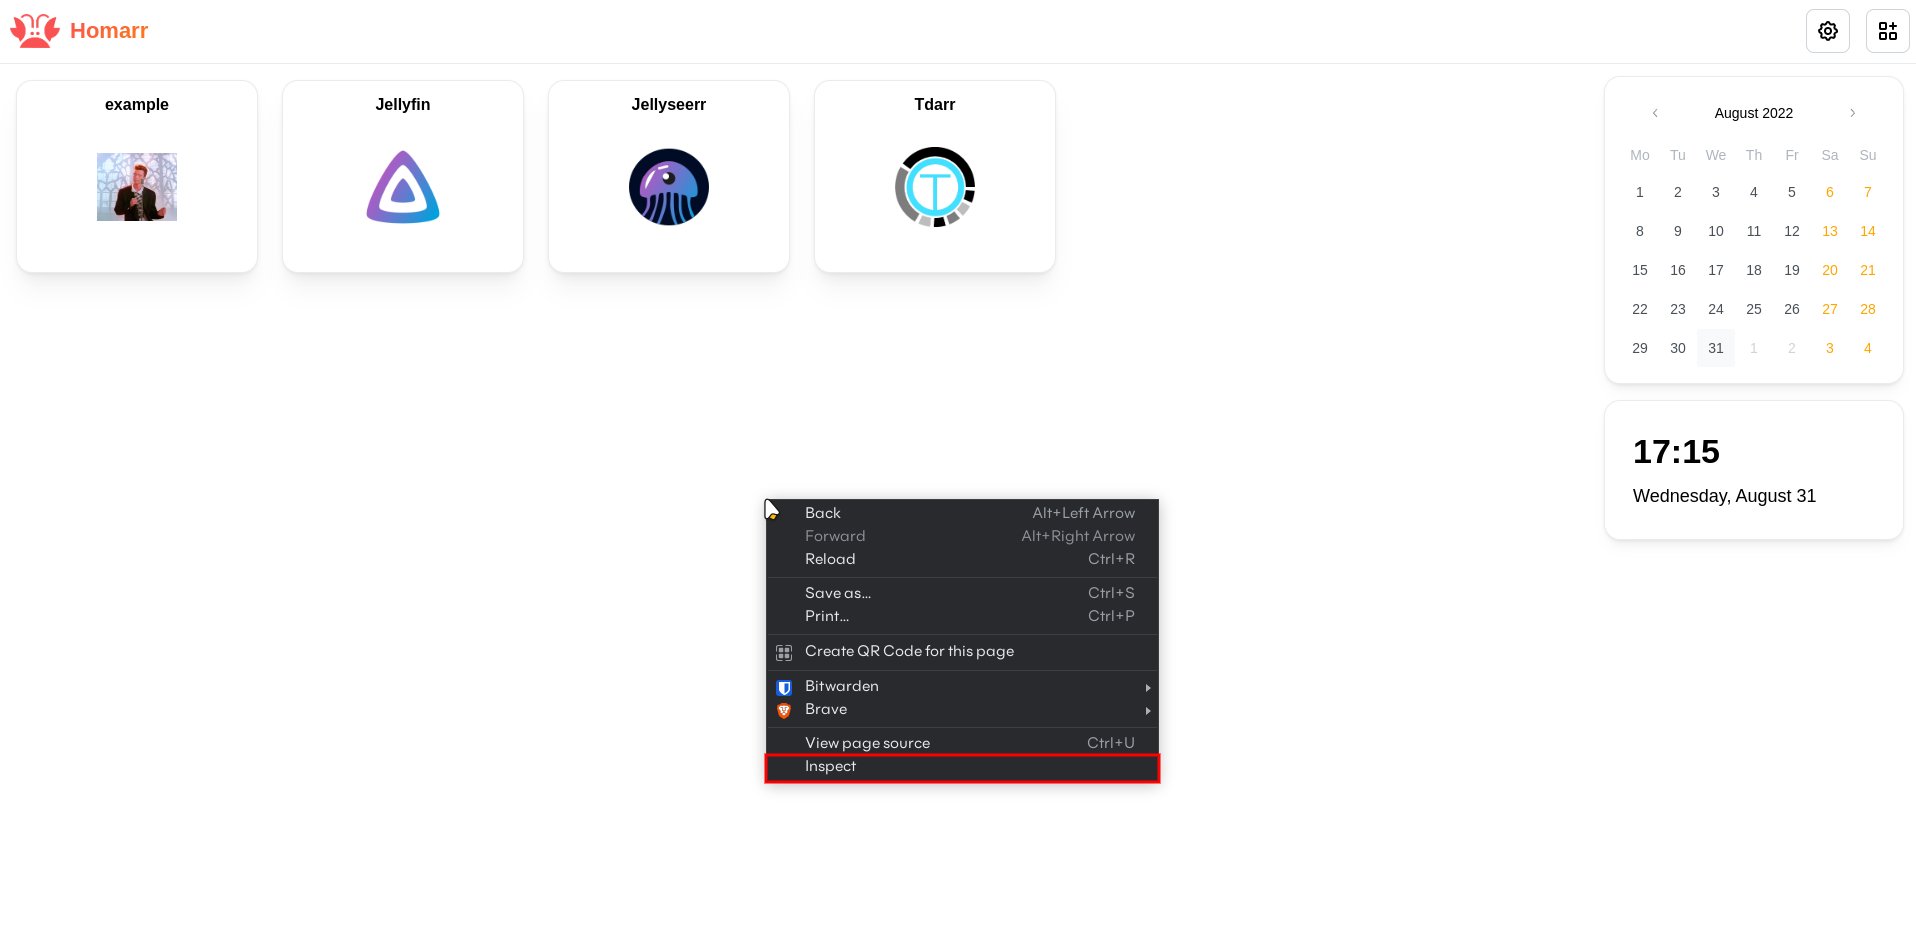
When writing CSS you will be required to use class names to select the elements you want to customize. To find the class names of the elements you want to customize, you can use the browser's developer tools. To open the developer tools, right-click on the page and select "Inspect" or "Inspect Element" from the context menu.
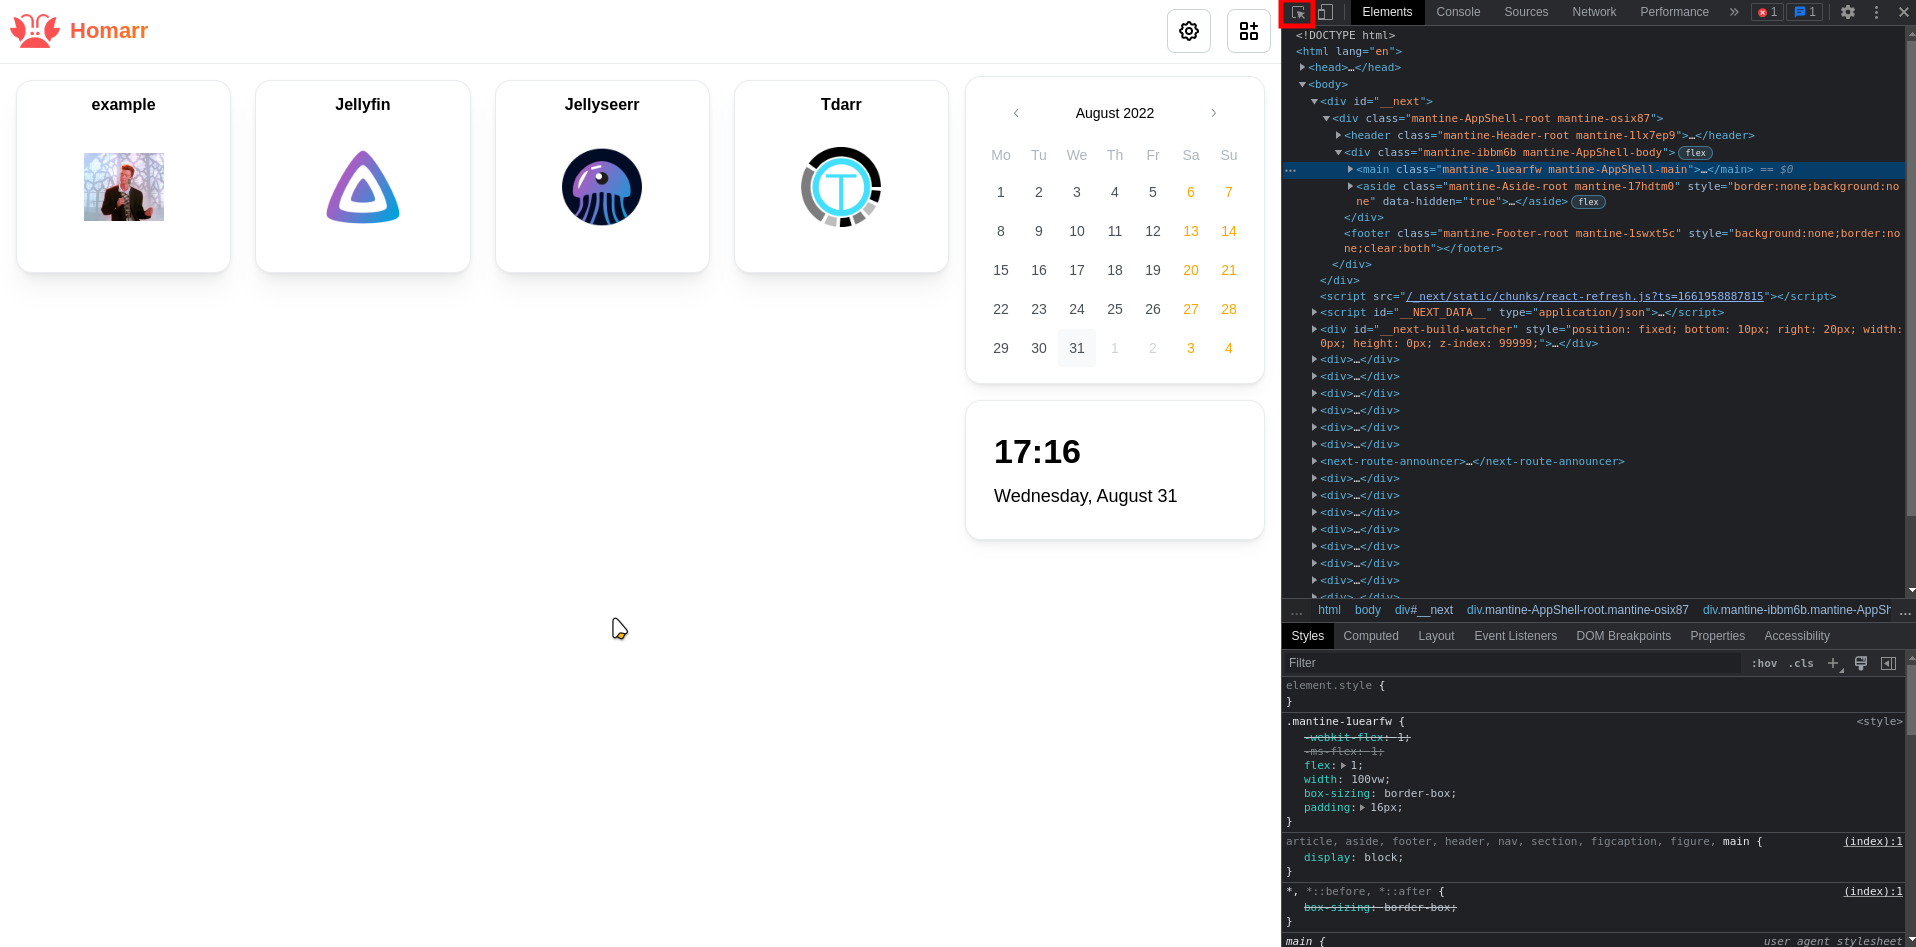
This opens up the DevTools of your browser. In the DevTools, you can find the Element Picker in the top left corner. Click on the Element Picker to activate it.
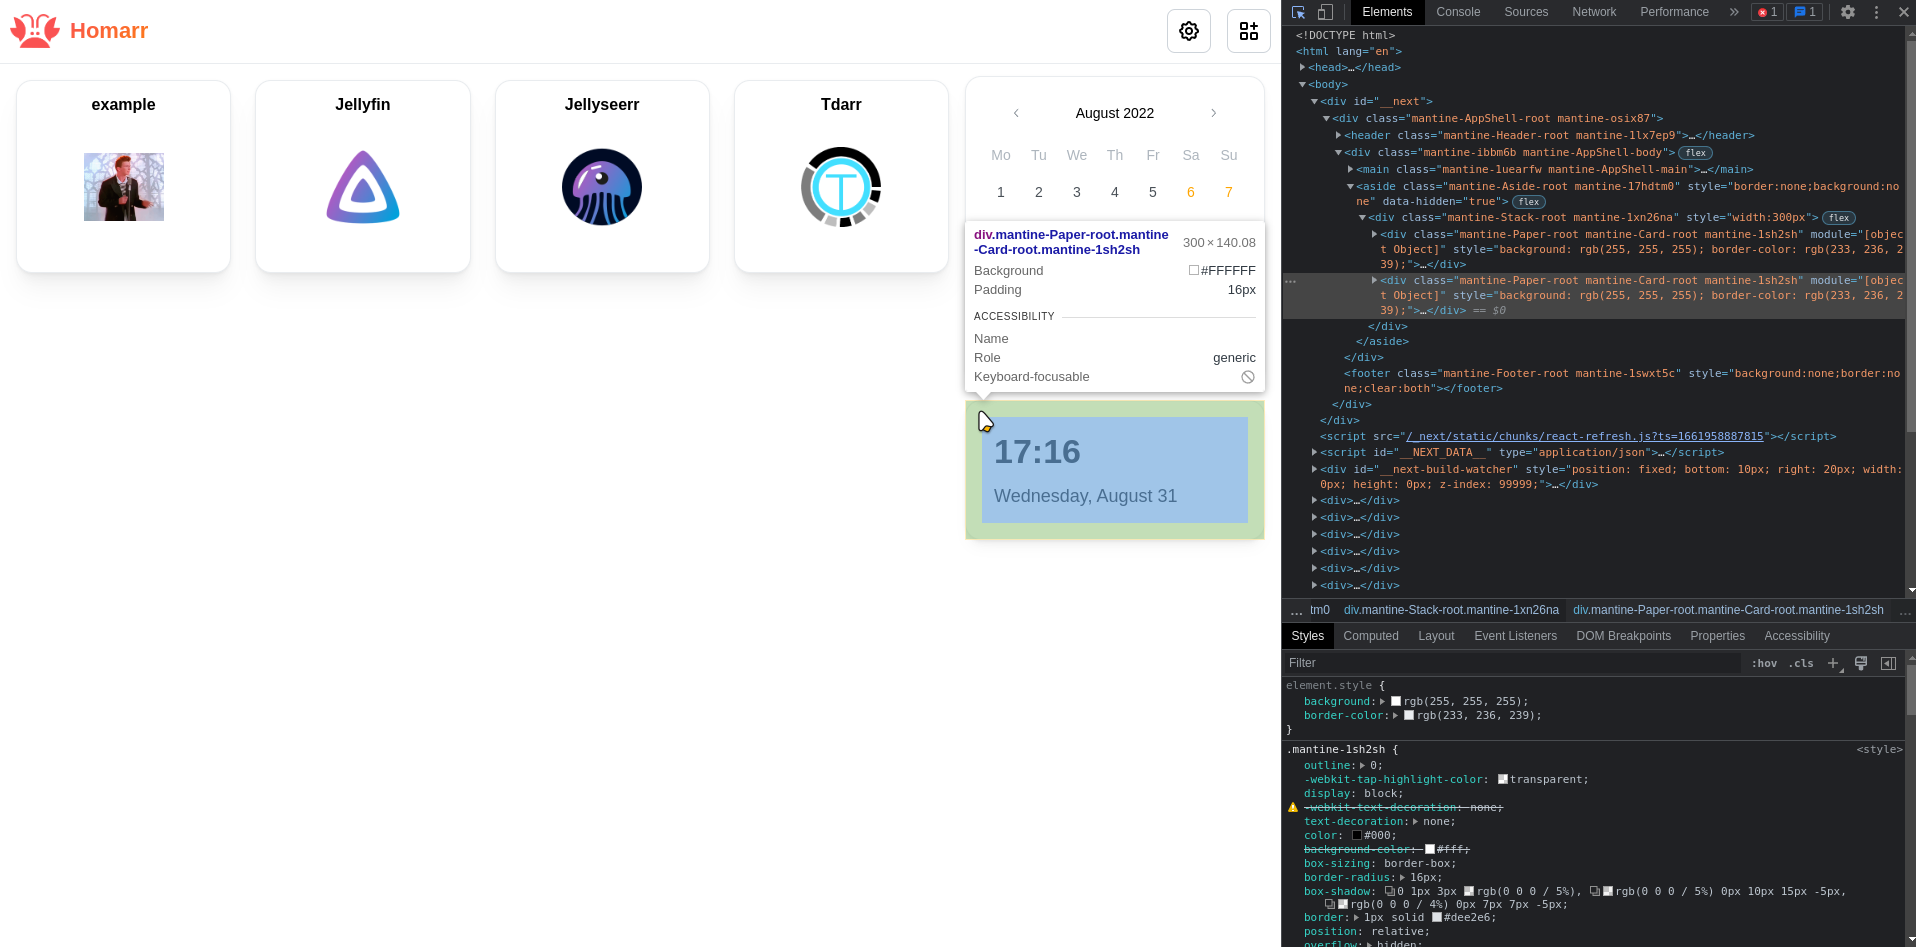
Now you can hover over the elements you want to customize. The element you are hovering over will be highlighted. If you click on the element, the DevTools will show you the classname of the element.
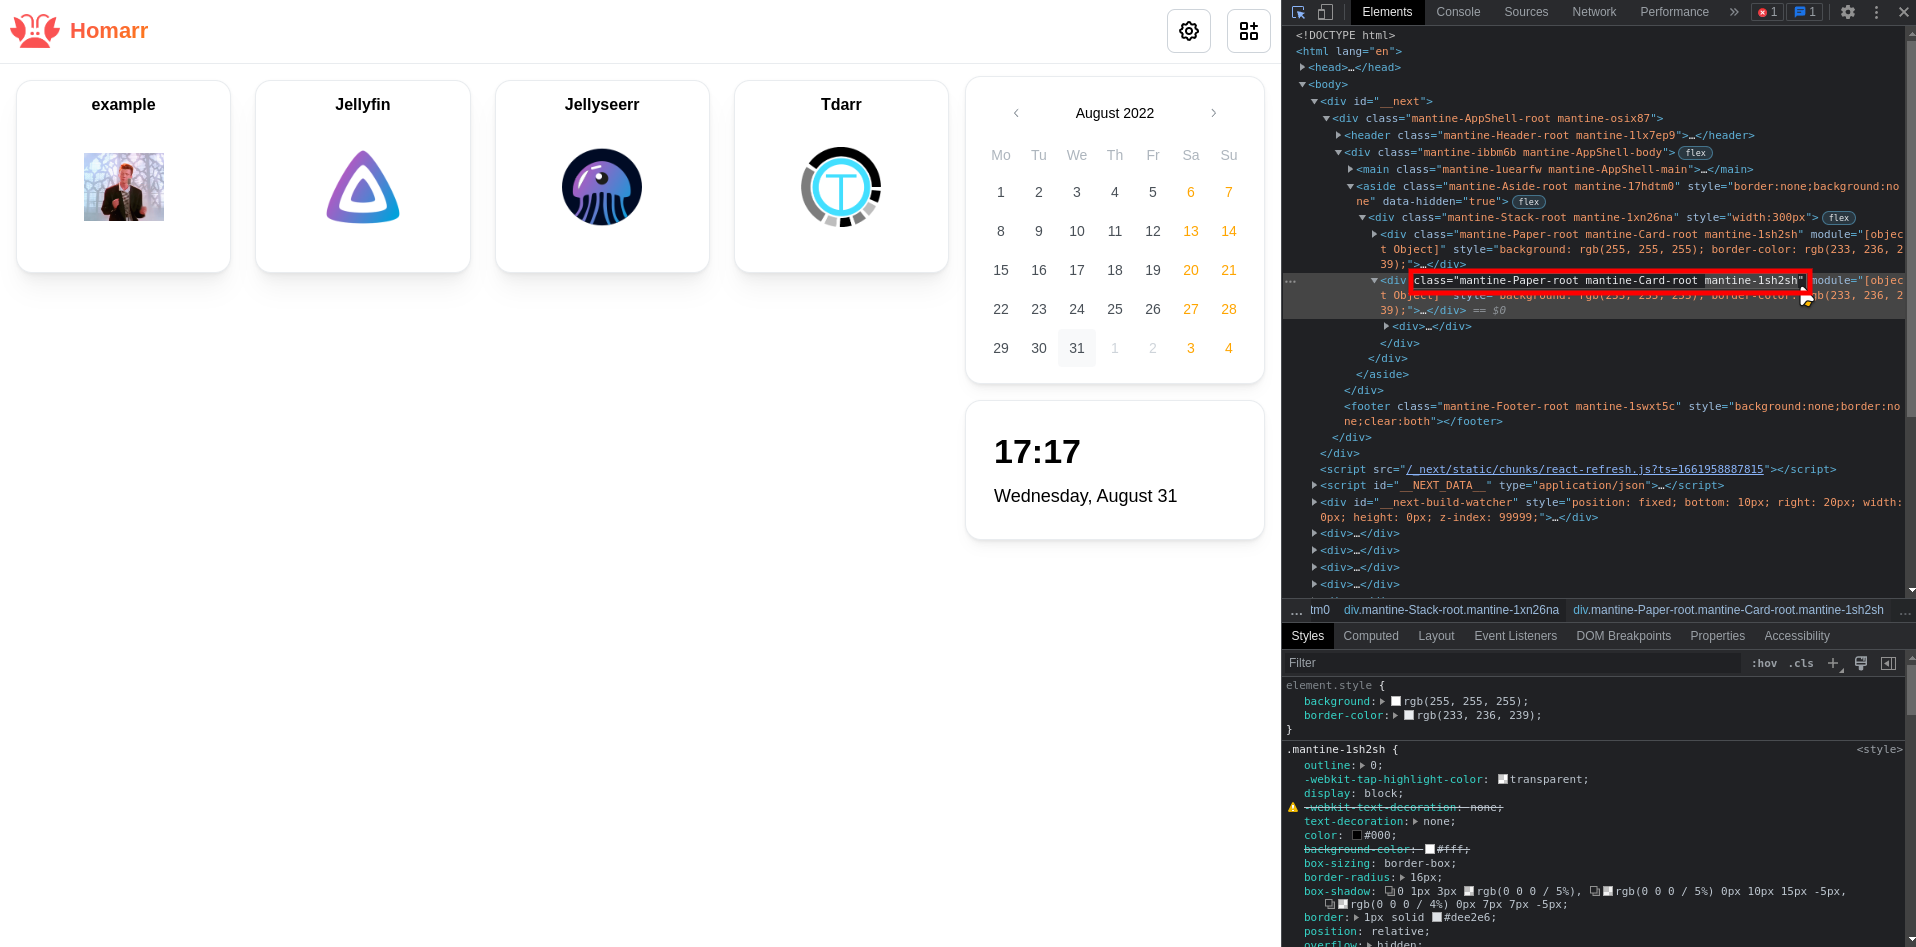
Finally, select the classname of the element you want to customize and add it to your CSS rules.
Additional resources
If you want to learn more about CSS, you can find a lot of resources on the internet. Here are some of the best ones: